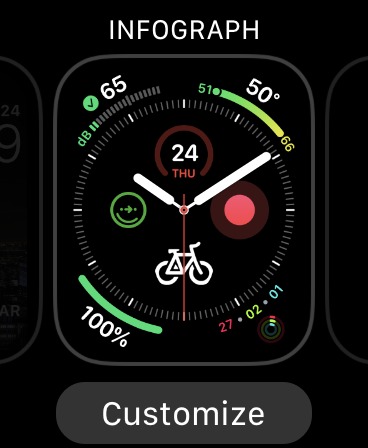
Decorative and functional watchfaces are a signature feature of the Apple Watch. It’s pretty easy to select one and tweak their appearance. In fact, you can do it either from the Watch itself or on your iPhone. And if you’re tired of your current choices, you can always add a new one.
On your iPhone
To switch to a previously installed watchface:
- Open the Watch app. You’ll see a scrolling line of the watchfaces you’ve previously installed. Swipe left and right to find the one you want to use or customize, and tap it.
- Scroll down and tap on “Set as current Watch Face.” You’re good to go.


Customizing a watchface — in other words, changing the color, style, or some other aspect — will work a little differently depending on the features of each particular face. However, the general idea is the same for all of them.
After you’ve tapped the face you want, swipe down to see which aspects you can tweak, and swipe across to see what your choices are. For example, if you see an aspect for color, swipe across to see the face’s available color schemes and tap the one you want to use.


If you want to change an icon on the watchface that launches an app on your Watch — what Apple calls “Complications” — tap the appropriate menu item, scroll, and select. Work through the list of available positions, tapping the ones you want to change and picking the Complication you want to use from the scrolling list. When you’ve got it right, go to the bottom of the screen and tap on “Set as current Watch Face.”
To install a new watchface:
- Open the Watch app. You can see the faces that are already installed near the top of the screen.
- Tap the Face Gallery icon at the bottom center of your display. Scroll up and down and left and right to behold Apple’s creative bounty.
- Tap on the one you want to add, tweak the settings a little if you want, and tap “Add.” The new face will appear on your Watch in short order.


On your Watch
To switch to a previously installed watchface:
To change from among your installed faces, just swipe left or right on the Watch’s screen. That’s it.
Customizing your watchface is a little more complicated.
- Force touch the screen. You’ll feel a vibration, and the watchface will go into Customize mode.
- Swipe left and right to pick the face you want to work on, and tap “Customize.”
What happens next depends on which face you want to work with and how complex it is.
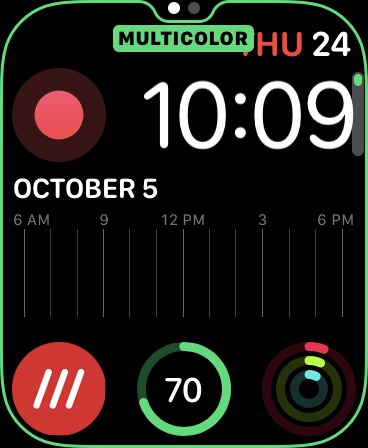
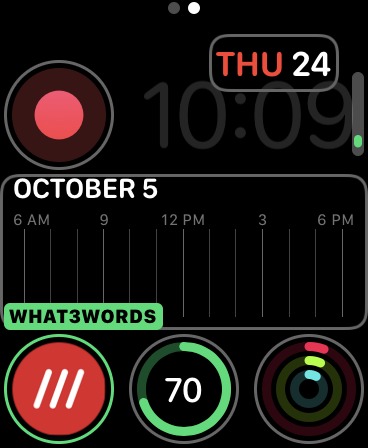
Generally, faces have two or three categories of design that you can change. Each category gets its own screen. The number of screens is indicated by the dots along the top of the display. You can move between the categories by swiping left and right. The area that you can change will be indicated by a green outline and will usually be labeled.
To make a change (color, style, etc.), scroll through the available options by tapping the area you want to change (if there is more than one area on the display outlined) and rotating the Digital Crown.
The last screen usually lets you manage the Complications. Things you can change are indicated by circles. Tap what you want to customize and scroll through the available Complications by turning the crown.

-

Tap on “Customize” to tweak your Watch face.
-

Choose which category you want to change.
-

Some screens will have several areas you can change.
When you’re done, press the crown once (a longer press will activate Siri, so don’t linger), and you’ll be brought back to the Customize screen.
Lower your wrist, and you’ll be using that customized watchface. If you’re not wearing the Watch, press the crown or tap the screen once to return to the “Customize” screen and again to get back to normal mode.
To install a new watchface:
- Force touch the screen to enter “Customize” mode
- Swipe left through until you see the “New” button. Tap it.
- Either swipe up and down or turn the crown to run through the available faces. Tap the one you want to add, and you’re set. (You can customize it by following the directions earlier in this article.)


Vox Media has affiliate partnerships. These do not influence editorial content, though Vox Media may earn commissions for products purchased via affiliate links. For more information, see our ethics policy.


